How to Groom a Dog at Home Step by Step: 10 Elite Tips for Pet Parents
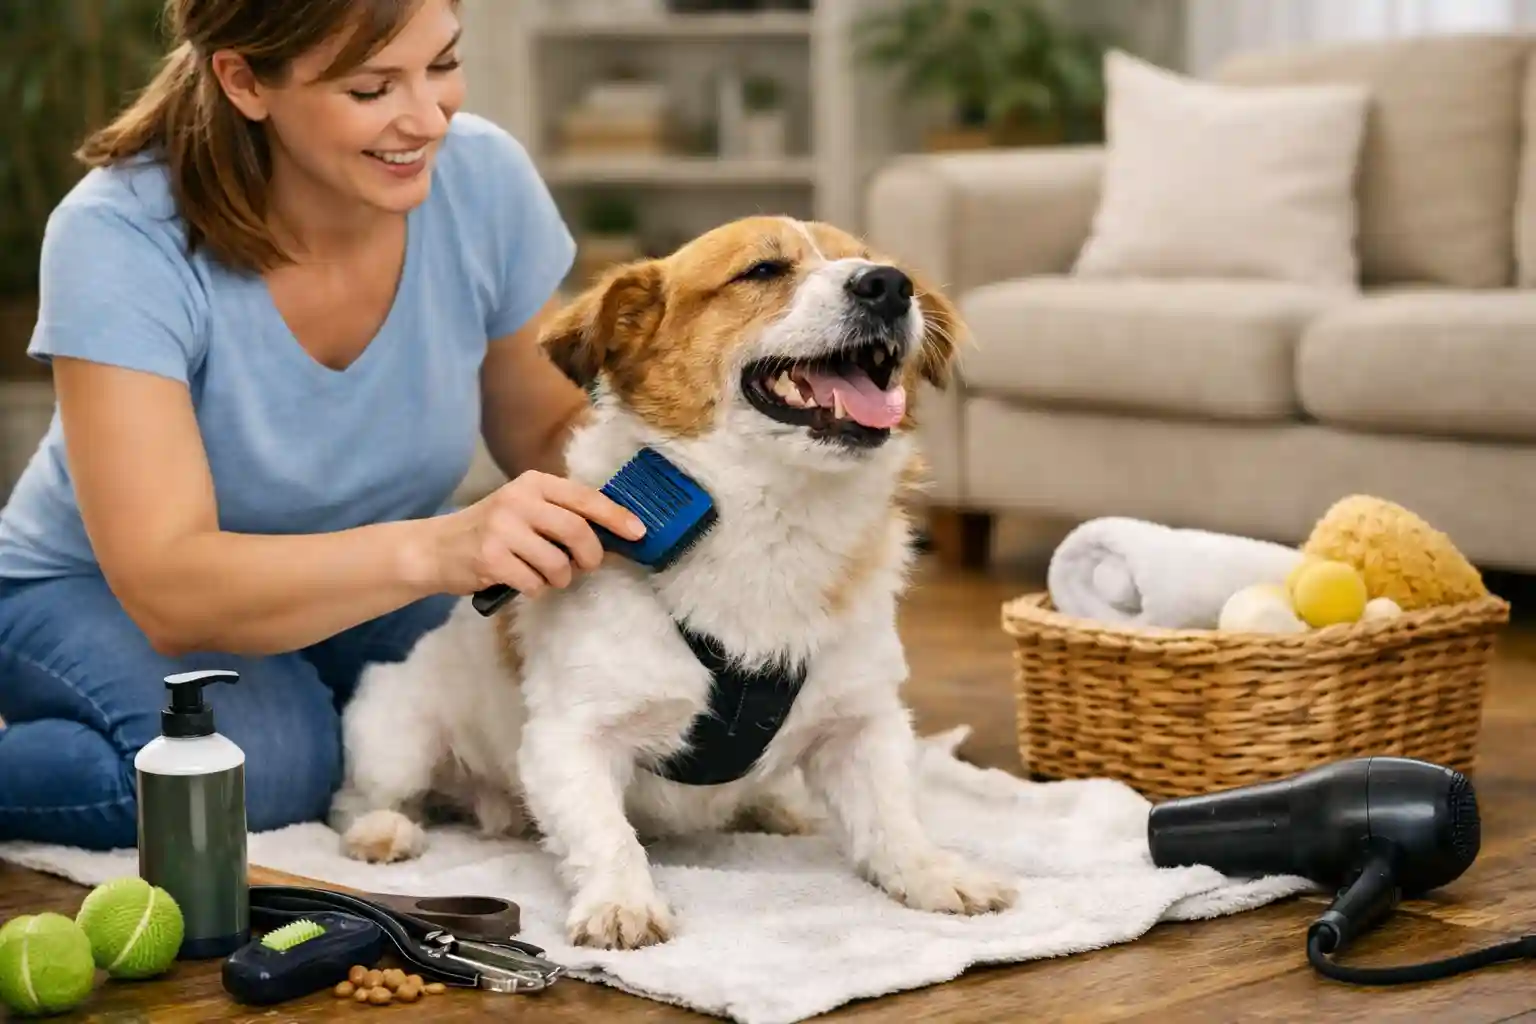
Table of Contents
How to groom a dog at home step by step is a skill every dedicated pet parent can master, offering numerous benefits beyond just aesthetics. Regular at-home grooming is a cornerstone of canine care, fostering a healthier coat and skin, preventing painful conditions like mats and infections, and allowing for the early detection of potential health issues such as lumps, bumps, or parasites. Furthermore, grooming sessions can significantly strengthen the bond between a dog and its owner, providing a calming, predictable routine that reduces anxiety and builds trust. By taking the time to groom your dog at home, you not only save on professional grooming costs but also provide a stress-free environment where your furry friend feels comfortable and secure. This comprehensive guide will walk you through each essential step, equipping you with the knowledge and techniques of an elite SEO editor to ensure your dog looks and feels their absolute best.
How to Groom a Dog at Home Step by Step: Preparation Is Key
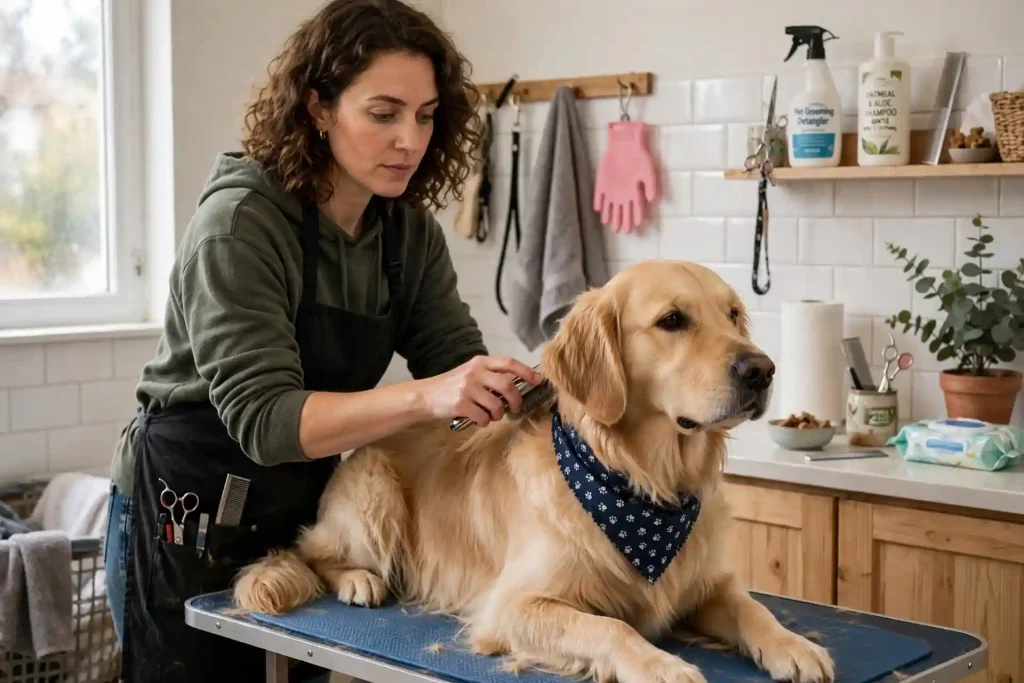
Before embarking on your home grooming journey, gathering the right tools is paramount. Having the correct equipment makes the process smoother, safer, and more effective for both you and your dog. Investing in quality, dog-specific products is crucial, as human shampoos and tools can irritate your pet’s skin or be ineffective for their coat type.
- Brushes and Combs: The type of brush depends on your dog’s coat.
- Slicker Brush: Excellent for detangling, removing loose fur, and addressing light matting, suitable for most coat types.
- Bristle Brush: Ideal for smooth, short coats (like Chihuahuas or Boxers) to remove dead skin and dirt, and for polishing the coat. Also useful for long-haired dogs after detangling.
- Pin Brush: Works well for long, straight coats to remove tangles and prevent mats.
- Undercoat Rake/Deshedding Tool: Essential for dogs with dense undercoats (like Retrievers, German Shepherds, or Huskies) to remove loose hair during shedding seasons.
- Metal Comb (All-purpose or Greyhound comb): Crucial for working out small knots the brush might miss and for checking for remaining tangles, especially in long-haired breeds.
- Rubber Curry Brush/Grooming Mitt: Best for short, smooth, or wiry coats to loosen dead skin and distribute natural oils.
- Shampoo and Conditioner: Always use dog-specific shampoo, preferably tearless for the face, and a conditioner if your dog has a long or tangle-prone coat. Diluting shampoo can make it easier to apply and rinse.
- Towels: Have several large, absorbent towels on hand. Microfiber towels are particularly effective for drying.
- Nail Clippers or Grinder: Choose a size appropriate for your dog’s nails. A Dremel grinder can be an alternative for Groom a Dog at Home sensitive to clippers.
- Styptic Powder: An absolute must-have in case you accidentally cut the quick of the nail, which will stop the bleeding.
- Ear Cleaner: A veterinarian-approved ear cleaning solution is safest and most effective for dissolving wax and debris.
- Cotton Balls or Gauze Squares: For wiping out ears and applying cleaner. Avoid cotton swabs, which can push debris deeper.
- Dog Toothbrush and Toothpaste: Human toothpaste is not safe for Groom a Dog at Home. Use a soft-bristled brush designed for canine teeth.
- Grooming Scissors: Blunt-ended (round tip) safety shears are recommended for trimming hair around sensitive areas like eyes, paws, and private parts.
- Clippers (Optional): If you plan to give your Groom a Dog at Home a haircut, invest in quality electric pet clippers with various guide combs.
- Detangling Spray: Useful for loosening knots and making brushing easier, especially for long or curly coats.
- Hair Dryer (Pet-specific): A high-velocity pet dryer is ideal, as human blow dryers can overheat a dog’s skin.
- Non-slip Mat: For the tub or grooming surface to prevent slips and ensure your dog feels secure.
- Treats: Essential for positive reinforcement throughout the grooming process.
Preparation is Key: Setting the Stage for a Successful Grooming Session
A calm and well-prepared environment can make all the difference in a positive home grooming experience. Dogs are highly perceptive of their owners’ emotions, so approaching the task with patience and a relaxed demeanor is crucial.
- Choose the Right Time: Select a time when both you and your Groom a Dog at Home are relaxed. After a long walk or play session when your dog is tired can be ideal, as they’ll be calmer and less prone to wiggling.
- Create a Safe and Calm Environment: Designate a specific, well-lit area for grooming. Lay down a non-slip mat in the tub or on your grooming surface to provide stability and comfort. Ensure all your tools are within easy reach to avoid interruptions.
- Introduce Tools Gradually: If your Groom a Dog at Home is new to grooming, let them sniff and inspect the tools. Offer treats and praise to create positive associations. For clippers or grinders, turn them on nearby so your dog can get accustomed to the sound before actual use.
- Short Sessions at First: Start with brief, 5-minute sessions and gradually increase the duration as your dog becomes more comfortable. Always end on a positive note with treats and praise.
How to Groom a Dog at Home Step by Step: Step 1 – Brushing and Dematting
Brushing is the fundamental first step in any grooming routine, whether it’s a quick touch-up or a full bath. It helps remove dirt, loose hair, and prevents mats from forming, which can become painful if left untreated. Water can tighten mats, making them much harder to remove, so always brush thoroughly before bathing.
- Choose the Correct Brush: Select a brush appropriate for your dog’s coat type (e.g., slicker for detangling, rubber curry for short coats, undercoat rake for double coats).
- Section the Coat: For dogs with long or thick coats, it’s helpful to work on small sections at a time. Start from the feet and work your way up to the body, then the tail, sides, neck, chest, and finally the head and ears.
- Brush Gently, but Thoroughly: Use gentle, consistent strokes in the direction of hair growth, making sure to reach the skin, not just the top layer of the coat. Avoid pressing too hard to prevent brush burn, an irritation to the skin.
- Address Tangles and Mats:
- For small tangles: Spray with a detangling spray or coat conditioner. Hold the hair at the base of the mat with one hand to protect the skin from pulling. Gently tease the tangle out with your fingers, then use a slicker brush or wide-toothed comb, working from the outer edge of the mat inwards.
- For stubborn mats: If brushing doesn’t work, a dematting comb or rake can be used carefully. For very tight, isolated mats, clippers with a short blade are the safest option to get underneath the mat without cutting the skin. Avoid using regular scissors, as it’s easy to accidentally cut your dog’s skin.
- Finish with a Comb: After brushing, run a metal comb through the entire coat to catch any small knots or loose hairs the brush might have missed. If the comb snags, go back with the brush to work out the area.
How to Groom a Dog at Home Step by Step: Step 2 – Bathing Your Dog
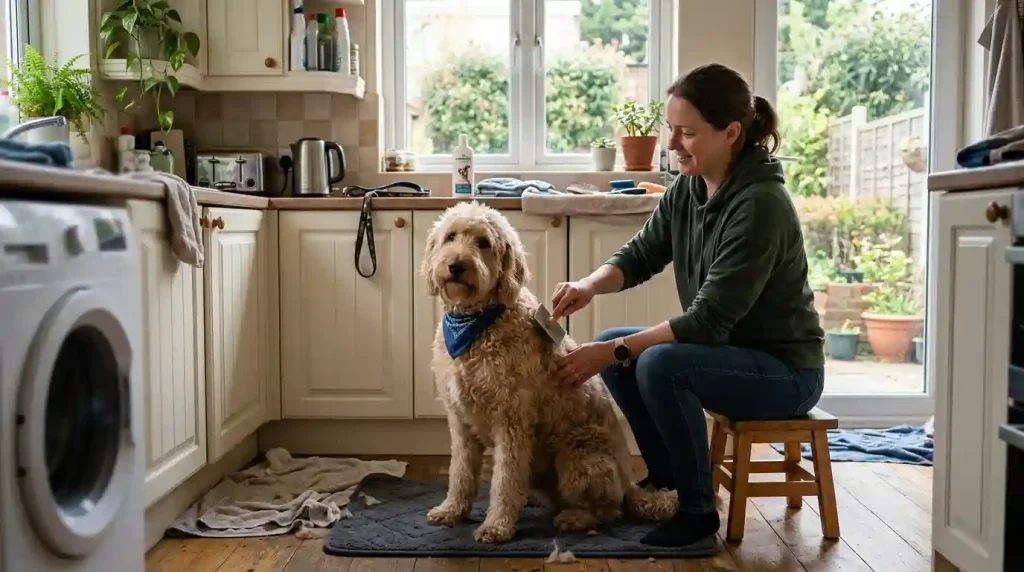
Bathing removes dirt, debris, and odors, leaving your Groom a Dog at Home feeling fresh. Most dogs benefit from a bath every one to three months, but active dogs or those with skin issues may need more frequent baths as recommended by a veterinarian.
- Prepare the Bath Area: Place a non-slip mat in the tub or sink. Fill the tub with 3-4 inches of lukewarm water; test it on your wrist to ensure it’s not too hot or cold. Have all your bathing supplies within arm’s reach.
- Wet Your Dog Thoroughly: Gently place your Groom a Dog at Home in the tub. Use a handheld sprayer, large plastic pitcher, or unbreakable cup to wet their coat completely, working from the neck down to the tail. Be careful to avoid getting water directly into their ears, eyes, or nose.
- Apply Shampoo: Apply a dog-specific shampoo, starting from the neck and working your way down, gently massaging it into their coat. For the face, use a damp cloth or a small amount of tearless shampoo, avoiding the eyes and ears. If your dog is very dirty, a double shampoo might be necessary.
- Rinse Completely: This is a critical step. Rinse thoroughly until the water runs clear and no soap or lather remains. Leftover shampoo can cause skin irritation, dryness, and dandruff. Run your fingers through the fur to ensure all residues are removed, paying extra attention to areas like armpits and under the chest.
- Apply Conditioner (Optional): If your dog has a long or thick coat, apply a dog-specific conditioner, focusing on areas prone to tangling, then rinse thoroughly.
How to Groom a Dog at Home Step by Step: Step 3 – Drying Your Dog Thoroughly
Proper drying is just as important as washing to prevent skin irritations, infections, and musty odors. It also helps prevent tangles and mats from forming in wet fur.
| Drying Method | Description | Pros | Cons |
|---|---|---|---|
| Towel Drying | Gently squeeze and pat the coat with absorbent towels, working from neck to tail. Avoid vigorous rubbing to prevent tangles. | Simple, quiet, good first step for all dogs. Microfiber towels are highly absorbent. | Less effective for thick or long coats; can still lead to tangles if rubbed. |
| Forced-Air/Pet Dryer | Uses high-velocity airflow (not heat) to blow water out of the coat. | Fast, highly effective for thick/double coats, prevents skin issues, results in fluffy coat. | Can be noisy (may require gradual introduction), requires a specific pet dryer (human dryers can overheat skin). |
| Air Drying/Bath Robe | After towel drying, allow dog to air dry in a warm, well-ventilated room, or use a dog bath robe. | Natural, low-stress, good for short-coated dogs or as a final step. | Slow, less effective for thick coats (can lead to odors/mats), requires monitoring to prevent chilling. |
After rinsing, use your hands to gently squeeze as much excess water out of the coat as possible. Then, use absorbent towels, gently pressing and patting the fur to soak up water. Avoid rubbing vigorously, as this can create tangles and mats. Pay special attention to areas that hold moisture, such as the paws, underbelly, and around the ears.
For dogs with thicker or longer coats, a pet-specific blow dryer (also known as a forced-air dryer) is highly recommended. These dryers use powerful airflow rather than heat to dry the fur, preventing skin irritation and ensuring thorough drying. Always use the dryer on a low, cool setting and keep it moving to avoid concentrating heat in one spot. Introduce the dryer slowly, allowing your Groom a Dog at Home to get used to the sound and sensation, using treats and praise for positive reinforcement. Brushing as you dry helps to separate the hair, speed up the process, and achieve a smooth, fluffy finish. You can also use quick-drying sprays to help reduce moisture and speed up drying time.
How to Groom a Dog at Home Step by Step: Step 5 – Ear Cleaning
Overgrown nails can cause significant discomfort, pain, and even damage to your dog’s paws, affecting their posture and gait. Regular nail trimming, typically every three to four weeks, is essential for their overall health.
- Acclimate Your Dog: If your dog is anxious about nail trims, start by simply handling their paws regularly and associating it with treats. Gradually introduce the clippers or grinder, letting them sniff and hear the sound before attempting a trim.
- Identify the Quick: The “quick” is the sensitive part of the nail that contains blood vessels and nerves. Cutting into it is painful and will cause bleeding. On dogs with light-colored nails, the quick appears as a pink area. For dogs with dark nails, trim only a small amount at a time until you see a gray or white center, then stop.
- Clipping Technique: Hold your dog’s paw firmly. Using sharp, dog-specific clippers, make a quick, clean cut at a 45-degree angle, just before the quick. Trim dewclaws if your dog has them.
- Grinding Technique (if using a Dremel): Hold the grinder against the nail for only a few seconds at a time to avoid heat buildup, then move to the next nail. This creates a smoother finish and can be less stressful for some dogs.
- Be Prepared for Accidents: Keep styptic powder readily available. If you accidentally cut the quick, apply the powder and hold pressure on the nail for about 30 seconds until the bleeding stops.
- Positive Reinforcement: Praise and reward your dog generously after each nail or even after each paw to make it a positive experience. If your dog is highly resistant, try trimming just one nail per session.
How to Groom a Dog at Home Step by Step: Step 6 – Dental Care
Regular ear checks and cleaning help prevent painful ear infections caused by wax buildup, moisture, or debris. The frequency depends on your dog’s breed (floppy-eared Groom a Dog at Home are more prone to infections) and activity level, but generally, check ears weekly and clean as needed.
- Gather Supplies: You’ll need a veterinarian-approved ear cleaning solution and cotton balls or gauze squares. Never use cotton swabs (Q-tips) or harsh cleaners like alcohol or hydrogen peroxide, as they can push debris deeper or irritate sensitive tissues.
- Apply Solution: Gently hold your dog’s ear flap upright. Pour a liberal amount of the cleaning solution directly into the ear canal until you see fluid. Do not insert the tip of the bottle into the ear canal.
- Massage the Ear Base: Gently massage the base of the ear for 20-30 seconds. You should hear a “squishing” sound, indicating the solution is working to loosen debris.
- Allow Shaking: Allow your Groom a Dog at Home to shake their head naturally. This helps move loosened debris out of the ear canal.
- Wipe Away Debris: Wrap a cotton ball or gauze square around your finger and gently wipe out the visible portion of the ear canal and the inside of the ear flap. Only go as far as your finger can comfortably reach; the “L-shaped” anatomy of a dog’s ear makes it difficult to cause damage this way.
- Repeat for the Other Ear: Follow the same steps for the other ear.
- Reward: Always praise and reward your dog with treats for their cooperation. If your Groom a Dog at Home shows signs of pain, excessive redness, or a foul odor, consult your veterinarian, as it may indicate an infection.
How to Groom a Dog at Home Step by Step: Step 7 – Hair Trimming and Finishing Touches
Dental hygiene is critical for your dog’s overall health, as poor oral care can lead to painful gum disease, tooth loss, and even systemic health issues. Many dogs show signs of gum disease by age four due to lack of proper mouth care. Daily brushing is ideal, but brushing every other day is the minimum frequency to maintain optimal oral health.
- Use Dog-Specific Products: Never use human toothpaste, as it contains ingredients harmful to dogs. Purchase dog-specific toothpaste and a soft-bristled toothbrush designed for canine teeth.
- Acclimate Your Dog: Introduce tooth brushing slowly. Start by letting your Groom a Dog at Home lick a small amount of dog toothpaste from your finger. Then, gently massage their lips and gums with your finger for 30-60 seconds, gradually introducing the toothbrush.
- Brushing Technique: Once your dog tolerates the brush, gently lift their lip to expose their teeth and gums. Hold the brush at a 45-degree angle to the teeth and clean in small, circular motions, focusing on the outer surfaces of the teeth which accumulate the most tartar.
- Prioritize Areas: Focus on the side of the teeth that touches the cheek, as this usually has the most tartar buildup. If your dog resists cleaning the inner surfaces, don’t force it, as less tartar typically accumulates there.
- Consistency is Key: Aim to brush your dog’s teeth two or three times a week, ideally daily, to prevent plaque from hardening into tartar.
- Reward: Always end brushing sessions with praise and treats to keep it a positive experience.
How to Groom a Dog at Home Step by Step: Common Mistakes to Avoid
For some breeds, or simply to maintain a tidy appearance, hair trimming is an integral part of grooming. This step requires patience and careful attention to detail.
- Trimming Around Sensitive Areas: Use blunt-tipped grooming scissors or a small trimmer to carefully trim hair that’s covering the eyes, long hair around private parts, and hair between the paw pads. Be extremely cautious to avoid accidental nicks. Hair between paw pads can cause matting and discomfort.
- Overall Hair Clipping (if desired): If you plan to clip your dog’s coat, ensure they are brushed, bathed, and thoroughly dry first. Use electric pet clippers with the appropriate guide comb for your desired length. Start with the shoulders and move towards the tail, clipping with the direction of fur growth. Always keep the blades far enough from the skin to avoid irritation or “clipper burn”.
- Face and Head Trimming: Trim the head and face last, being extra careful around the ears, mouth, eyelashes, and nose. For the muzzle, gently pull clippers downwards from the bridge of the nose towards the mouth. For the chin, run clippers from the chin towards the throat.
- Finishing Touches: After trimming, do a final brush-through to remove any loose hairs. You can use a pet-safe coat spray to reduce static and leave a pleasant scent.
Common Mistakes to Avoid and Essential Safety Tips
While at-home grooming offers many advantages, being aware of common pitfalls and prioritizing safety is crucial to ensure a positive experience for your dog.
- Patience is Paramount: Rushing the grooming process can stress your dog and lead to negative associations. Take breaks if your dog seems anxious, and always be calm and gentle.
- Never Use Human Products: Human shampoos, conditioners, and toothpastes are formulated differently and can irritate your dog’s skin or be toxic if ingested.
- Avoid Overheating: When using a blow dryer, always use a pet-specific dryer on a low, cool setting. Human dryers can get too hot and burn your dog’s sensitive skin.
- Be Mindful of Sensitive Areas: Exercise extreme caution around the face, ears, paws, and genitals. Use blunt-tipped scissors or clippers carefully to avoid cuts or nicks.
- Don’t Cut Mats with Scissors: Attempting to cut out mats with scissors is highly dangerous and can easily lead to severe cuts on your dog’s skin, as it’s difficult to see where the mat ends and the skin begins. Use clippers with a short blade for mat removal or seek professional help for severe matting.
- Prevent Brush Burn: Brushing too hard or repeatedly over one area, especially where bones protrude, can cause skin irritation. Use gentle, consistent strokes.
- Check for Skin Issues: Regular grooming provides an excellent opportunity to check your dog for any lumps, bumps, sores, parasites (fleas/ticks), or skin irritations that may require veterinary attention.
- Positive Reinforcement: Consistently use treats, praise, and gentle reassurance throughout the grooming session to make it an enjoyable bonding experience.
- Know When to Seek Professional Help: If your dog has severe matting, exhibits extreme aggression or fear during grooming, or you encounter a health issue you’re unsure how to address, do not hesitate to consult a professional groomer or veterinarian. Professional groomers have specialized tools and expertise for challenging situations. For more detailed information on responsible pet care, including recognizing when professional help is needed, you can refer to resources from organizations like the ASPCA.
Conclusion: A Happier, Healthier Dog
Grooming your dog at home is a rewarding practice that extends far beyond maintaining their appearance. By following these step-by-step guidelines, you are actively contributing to your dog’s physical health, comfort, and emotional well-being. From the foundational act of thorough brushing to the careful attention paid to nails, ears, and teeth, each grooming step plays a vital role in preventing health issues and ensuring your canine companion lives a happier, healthier life. Remember that patience, positive reinforcement, and using the right tools are your greatest allies. With consistent effort, at-home grooming will become a cherished routine, strengthening your bond and allowing you to intimately understand and care for your beloved pet. The time and effort invested in learning how to groom a dog at home step by step will undoubtedly be reflected in a shining coat, bright eyes, and a contented wagging tail.
3 Comments