How to Use Nail Clippers for Dogs: 5 Easy Steps to Build Trust & Confidence
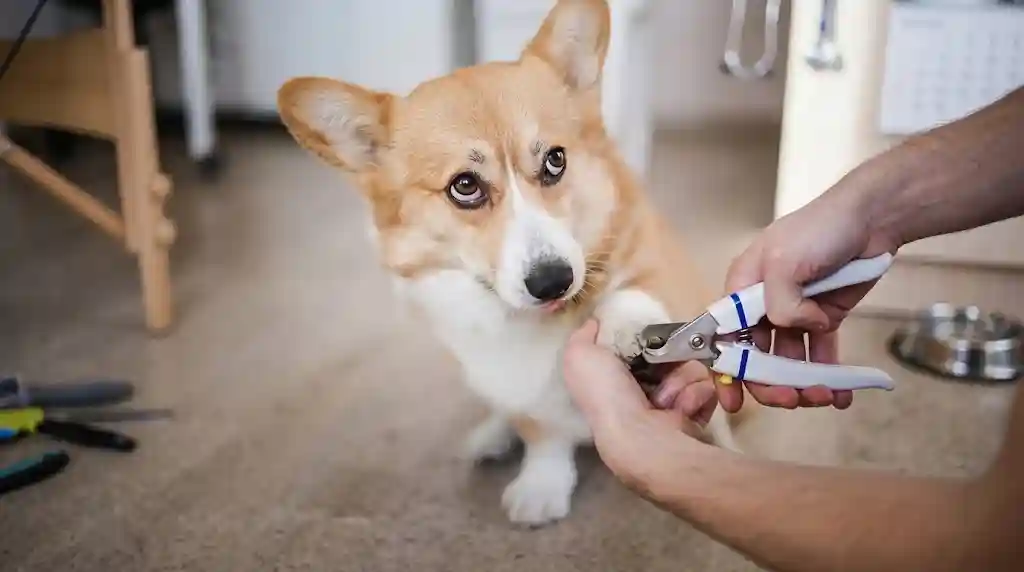
Table of Contents
How to get your dog used to nail clippers for dogs can often feel like an insurmountable challenge for many pet owners. Nail trimming, while seemingly a simple grooming task, can become a source of significant stress and anxiety for both dogs and their human companions. Many dogs instinctively dislike having their paws handled and can be startled by the unfamiliar sounds and sensations of clippers or grinders. However, regular nail trimming is not just about aesthetics; it is a critical component of your dog’s overall health and well-being. Overgrown nails can lead to discomfort, pain, affect a dog’s posture and gait, and even result in more serious injuries or infections if left unchecked.
Introduction: Understanding the Importance of Nail Clippers for Dogs
The importance of maintaining properly trimmed nails for your dog cannot be overstated. When a dog’s nails become too long, they can hit the ground with every step, pushing back into the nail bed and causing painful pressure on the toe joints. This chronic pressure can lead to splayed feet, reduced traction, and, over time, deformed feet and injury to tendons. Furthermore, excessively long nails are more prone to breaking or tearing, which can be extremely painful and may require veterinary intervention. Regular nail care is therefore essential for preventing these issues, ensuring your dog’s comfort, promoting healthy movement, and maintaining their long-term physical health. This comprehensive guide aims to equip you with the knowledge and techniques to desensitize your dog to nail clippers, transforming a dreaded chore into a manageable and even positive experience.
Why Do Dogs Fear Nail Clippers? Common Causes and Canine Psychology
Understanding the root causes of a dog’s aversion to nail clippers is the first step toward effective desensitization. Several factors contribute to this common fear:
- Past Negative Experiences: A single painful or frightening experience, such as a nail being cut too short and hitting the “quick” (the sensitive part of the nail containing nerves and blood vessels), can create a lasting fear. Dogs have excellent memory when it comes to fear, and they can associate clippers with danger.
- Sensitive Paws: A dog’s paws are packed with nerve endings, making them highly sensitive. Many dogs naturally dislike having their feet touched, regardless of the tools involved, feeling it as intrusive or vulnerable.
- Sound and Sensation of Clippers: The unfamiliar sound of clippers snapping or a grinder vibrating can be startling and threatening to sensitive dogs. This can cause them to react negatively even before the trimming begins.
- Lack of Control and Restraint: When you hold a dog’s paw, you are taking away their balance and movement, which can feel risky to them. The feeling of being restrained, even gently, can trigger a “trapped” response.
- Owner’s Anxiety: Dogs are highly attuned to their owners’ emotions. If you are nervous or stressed about trimming their nails, your dog will likely sense this, becoming tense and anxious themselves. For anxious dogs during grooming, this guide on dog grooming tips for anxious dogs can be very helpful.
- Lack of Early Exposure: Puppies who are not introduced to paw handling and nail care early in life may develop a stronger aversion as they get older.
Recognizing these underlying reasons helps us approach the desensitization process with empathy and a strategy that addresses their specific fears.
Essential Tools and Preparation: Choosing the Right Clippers and Creating a Calm Environment
Before you begin the desensitization process, it’s crucial to have the right tools and create a conducive environment. Proper preparation sets the stage for a positive experience.
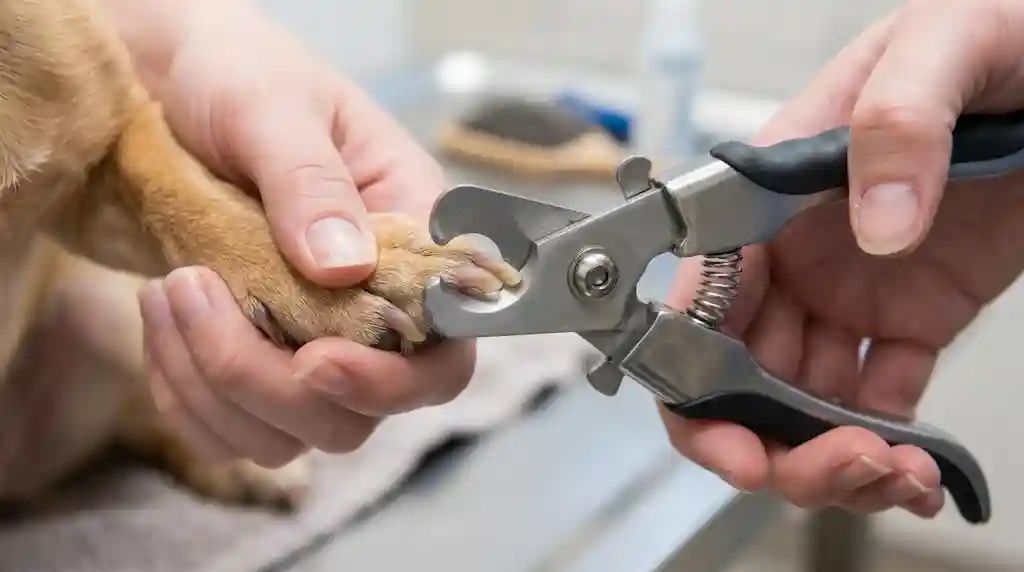
- Nail Clippers: There are several types of dog nail clippers available, including guillotine-style, scissor-style, and plier-style clippers. Scissor-style clippers are often recommended for their ease of use and ability to make clean cuts. Choose a size appropriate for your dog’s nails. Ensure the clippers are sharp to prevent crushing the nail, which can be painful.
- Nail Grinder: As an alternative or in addition to clippers, a nail grinder can be a good option, especially for dogs with dark nails where the quick is hard to see, or for those who prefer a smoother finish. Grinders remove small amounts at a time, reducing the risk of cutting into the quick. However, some dogs may need to be desensitized to the sound and vibration of the grinder.
- Styptic Powder: This is a non-negotiable item to have on hand. Styptic powder contains a clotting agent that will quickly stop bleeding if you accidentally cut into the quick. Cornstarch or flour can be used as alternatives in a pinch, but styptic powder is more effective.
- High-Value Treats: These are your most powerful tools for positive reinforcement. Reserve your dog’s absolute favorite treats (e.g., small pieces of cheese, boiled chicken, peanut butter on a lick mat) specifically for nail trimming sessions.
- Calm Environment: Choose a quiet, well-lit, and distraction-free space where your dog feels relaxed and secure. After a walk or playtime, when your dog is naturally calm and tired, is often an ideal time. For a complete grooming routine, see this dog grooming checklist for first-time owners.
By having everything ready and creating a positive atmosphere, you’re setting yourself and your dog up for success.
The Desensitization Process: A Step-by-Step Guide to Gradual Acclimation
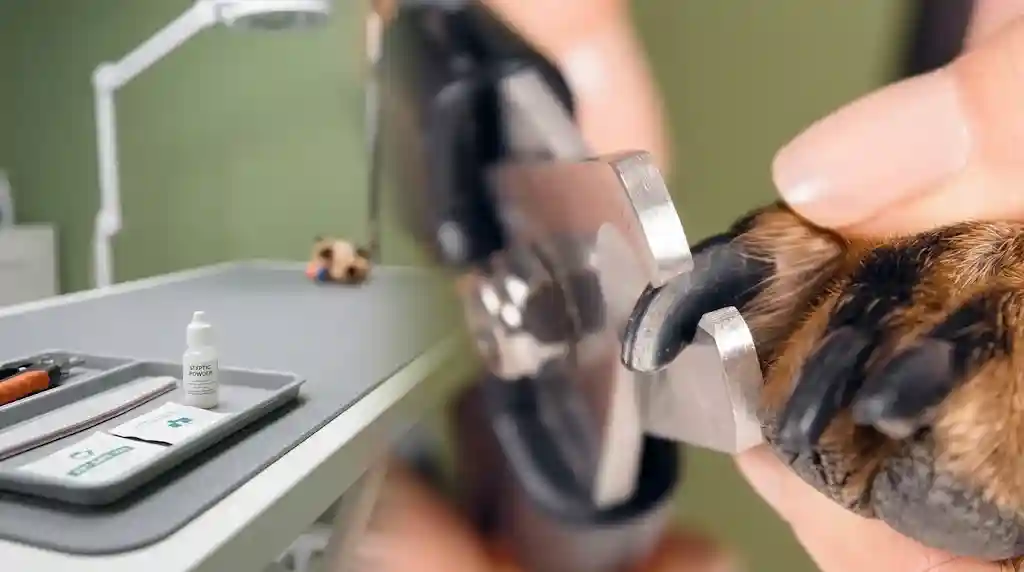
Desensitization involves gradually exposing your dog to the nail clippers and the process of nail trimming in a positive, controlled manner, allowing them to form positive associations. Patience and consistency are paramount.
Introducing the Clippers
Start by simply introducing the clippers or grinder into your dog’s environment. Place them on the floor and scatter high-value treats around them. Let your dog sniff and investigate the tools without any pressure. The goal is to associate the sight of the clippers with good things.
Touching the Paws
Many dogs are uncomfortable with having their paws handled. This step is crucial. Begin by gently touching your dog’s shoulder, then gradually move your hand down their leg, eventually touching their paw. Reward them with treats and praise for calm behavior at each stage. Gradually increase the duration and pressure of your touch. Practice holding each toe for a few seconds.
Introducing the Sound and Sensation
Once your dog is comfortable with paw handling, introduce the sound of the clippers. While sitting near your dog (but not touching them with the clippers), press the clippers to make the ‘snapping’ sound, and immediately give a treat. You can also practice clipping dried spaghetti or a toothpick to mimic the sound without actually touching your dog’s nails. If using a grinder, turn it on briefly at a distance and reward your dog, gradually moving it closer over several sessions. Next, gently tap the clippers or grinder against your dog’s nails without actually trimming, associating this sensation with treats.
The First Trim (One Nail at a Time)
When your dog shows no signs of stress or fear with the presence, touch, and sound of the clippers, you can attempt the first trim. Choose a time when your dog is relaxed. Pick up one paw, isolate one nail, and trim just the very tip of one nail. Immediately reward heavily with treats and praise. Do not attempt to do more than one or two nails in the initial sessions. Keep sessions short and positive. If your dog shows any discomfort, stop and try again later or go back a step.
Increasing Duration and Number of Nails
As your dog becomes more comfortable, you can gradually increase the number of nails you trim per session. The key is to move at your dog’s pace and always end on a positive note, even if you only manage a few nails. Consistency is vital, and with repeated positive experiences, your dog will become more accepting.
| Desensitization Phase | Activity | Goal | Reward Strategy |
|---|---|---|---|
| Phase 1: Introduction | Place clippers/grinder on floor, let dog sniff. | Associate tools with positive presence. | Scatter high-value treats around tools. |
| Phase 2: Paw Handling | Gently touch paws, then individual toes. | Make paw touch a positive, non-threatening experience. | Treats and praise for calm acceptance of touch. |
| Phase 3: Sound & Sensation | Clip air/spaghetti near dog. Tap tools on nails. | Desensitize to the sound and feel of the tools. | Treats immediately after each sound/tap. |
| Phase 4: First Trim | Trim one tiny tip of a single nail. | Successful, pain-free first trim. | High-value treat feast and enthusiastic praise for the single trim. |
| Phase 5: Progression | Gradually increase number of nails trimmed per session. | Build comfort for full nail trims. | Consistent treats and praise after each successful nail. Keep sessions short. |
Positive Reinforcement and Rewards: Making Nail Trimming a Positive Experience
Positive reinforcement is the cornerstone of successful desensitization. It involves rewarding desired behaviors to increase their likelihood of occurring again. Here’s how to effectively use it:
- High-Value Treats are Key: Always have your dog’s favorite, irresistible treats ready. These special treats should ideally be reserved only for nail trimming sessions to heighten their value and association with the activity.
- Timing is Everything: Deliver the treat immediately after your dog displays a calm response to a step, or after a successful (even tiny) trim. This helps your dog clearly understand what behavior is being rewarded.
- Verbal Praise and Affection: Combine treats with enthusiastic verbal praise (“Good dog!”) and gentle petting. This reinforces the positive association and builds your dog’s confidence.
- Keep Sessions Short and Sweet: Especially in the beginning, limit sessions to just a few minutes. Ending on a positive note, even if you only managed one nail, is more beneficial than forcing a longer session that ends in stress.
- Never Punish: Avoid scolding or punishing your dog for fear or resistance. This will only increase their anxiety and make future sessions more challenging. Patience and a calm demeanor from you are crucial.
- Distraction Techniques: For some dogs, a distraction can be incredibly helpful. A lick mat smeared with peanut butter or wet food, or a puzzle toy, can keep them occupied and focused on something positive while you work.
By consistently pairing nail care with positive rewards, you are reprogramming your dog’s emotional response from fear to anticipation of something good.
Advanced Techniques and Troubleshooting: Dealing with Resistant Dogs and Accidental “Quicking”
Even with the best intentions and methods, you might encounter challenges. Here are some advanced techniques and troubleshooting tips:
- When to Seek Professional Help: If your dog exhibits extreme fear, anxiety, aggression, trembling, excessive drooling, panting, growling, or snapping, it’s best to consult a professional groomer, veterinarian, or a certified veterinary behaviorist. They can provide guidance, specialized coaching, or even light sedation if necessary, to ensure the nails are trimmed without further traumatizing your dog. Forcing the issue can amplify their fears. If you need help finding a groomer, this guide to the best local grooming services near you can point you in the right direction.
- Muzzle Training: For dogs prone to biting when stressed, muzzle training can be a safety measure. Introduce the muzzle gradually and positively, associating it with treats and comfort, never as a punishment.
- Nail Grinder as an Alternative: If clippers are simply too frightening, a nail grinder can be a viable alternative. Grinders allow for gradual removal of the nail, reducing the risk of cutting the quick. However, some dogs may still need to be desensitized to the noise and vibration. Many groomers even prefer grinders.
- Teaching a Scratch Board: For dogs who intensely dislike paw handling, some trainers suggest teaching them to file their own front nails on a sandpaper-covered board. This can be a fun, cooperative way to keep nails maintained without clippers or grinders.
What to Do if You “Quick” the Dog: This is a common concern. If you accidentally cut the quick and the nail bleeds:
- Stay Calm: Your dog will pick up on your panic. Remain calm and reassuring.
- Apply Styptic Powder: Immediately apply a small amount of styptic powder directly to the bleeding nail tip and apply gentle pressure for several seconds until the bleeding stops. If you don’t have styptic powder, cornstarch, flour, or even a mild bar of soap can work in a pinch.
- Comfort Your Dog: Offer praise and treats to re-establish a positive association and help them calm down.
- Follow-Up Care: Monitor the nail for a day or two. Keep the area clean. It generally takes 24-48 hours for the wound to clot and scab over. Avoid activities that could reopen the wound, and wait at least 48 hours before walks, protecting the nail with a bootie if needed for short, gentle outings. If bleeding doesn’t stop, contact your vet.
Remember that every dog is an individual. What works for one may not work for another. The key is persistence, observation, and adapting your approach to your dog’s specific needs.
For further reading on understanding canine behavior and positive training methods, you might find resources from the American Kennel Club (AKC) or reputable animal behavior organizations helpful. For general training help, this guide on pet training near me can be useful. And for puppy-specific training, this guide on easy commands every puppy should learn is very helpful.
Maintaining Regularity: Establishing a Consistent Nail Care Routine
Consistency is paramount in maintaining your dog’s comfort with nail trimming and preventing nails from becoming overgrown.
- How Often to Trim: Most dogs need their nails trimmed every 3 to 4 weeks. However, this can vary based on their activity level, breed, and natural nail growth rate. Very active dogs who walk frequently on hard surfaces like pavement may wear their nails down naturally and need less frequent trims (e.g., every 4-6 weeks), while small, senior, or indoor dogs may need trims every 2 to 3 weeks due to less natural wear. Puppies often need more frequent, light trims to get them accustomed to the process.
- Recognizing When It’s Time: The clearest indicator that your dog’s nails are too long is if you can hear them clicking on hard floors when they walk. Ideally, their nails should be short enough that they do not touch the ground when they are standing.
- Don’t Forget Dewclaws: Many dogs have dewclaws, which are located higher up on their legs and do not touch the ground. These do not wear down naturally and can become overgrown, curling back into the paw and causing pain or infection if not trimmed regularly.
- Integrate into Grooming Routine: Make nail trimming a regular part of your dog’s overall grooming schedule. This routine helps your dog anticipate and accept the process. For a complete grooming schedule, see this grooming schedule by coat type.
- Address Overgrown Nails Gradually: If your dog’s nails are severely overgrown, the quick will likely have grown longer with the nail. To safely shorten them, you’ll need to trim a small amount every 1-2 weeks. This gradual approach allows the quick to recede over time, enabling you to eventually get the nails to a healthy length.
If your dog has a double coat, this guide on how to groom a double-coated dog at home offers additional coat care tips. For drying techniques after a bath, this guide on the best drying technique for long-haired dogs is useful. And for a complete nutrition overview, see this ultimate pet nutrition guide. If your dog has a sensitive stomach, this guide to the best dry dog food for sensitive stomachs can help. For puppies, this guide to the best puppy food for large breed puppies is valuable.
Conclusion: A Lifetime of Happy Paws
Successfully getting your dog used to nail clippers is a journey that requires patience, consistency, and a deep understanding of canine behavior. It’s about building trust and transforming a potentially frightening experience into one that your dog can tolerate, or even enjoy, through positive association. By understanding why dogs fear clippers, choosing the right tools, systematically desensitizing them, and leveraging the power of positive reinforcement, you can gradually help your furry friend overcome their aversion. Remember that every small step forward is a victory. With dedication, you’ll not only ensure your dog has healthy, comfortable paws, but you’ll also strengthen the bond you share, making grooming a cooperative and positive aspect of your relationship for a lifetime.